Finally, at WWDC20 (or dub dub dee see as Siri pronounces it), Apple announced the introduction of Widgets to the Home Screen, a new feature that got me excited for more than one reason:
- Using widgets means that we are able to customize our Home Screens and Today Views, having instant access to our favorite information and most-used system or app-specific functions.
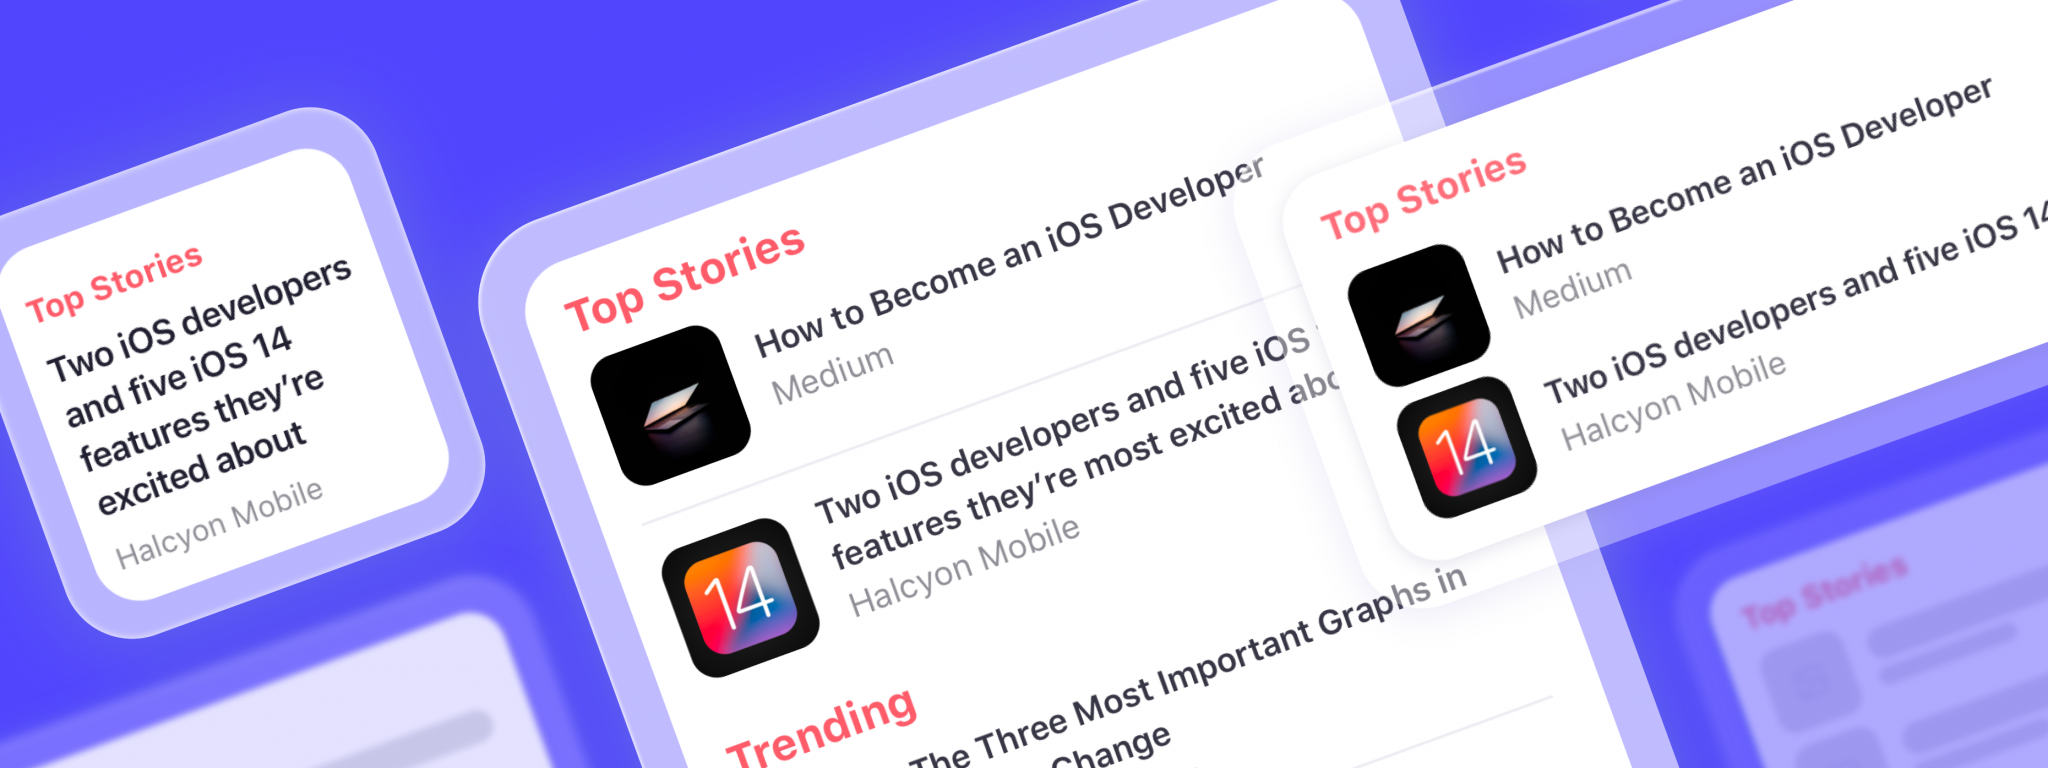
- Having widgets also means that we can now create gorgeous, focused app extensions that display relevant and timely content at a glance.
If you find widgets even remotely as fun and useful as I do, and want to make one on your own, this article is for you. So read on and for a few minutes of your undivided attention, I will teach you how to build a static widget that shows us the latest news.
A few things before we get started…
Widgets must be implemented in SwiftUI and using WidgetKit, we can create one based on two types of configurations: Static and Intent. If we provide user-configurable options to tailor the information displayed, we use the latter, every other time we use the former, in which case, the data is presented and updated from time-to-time and reloads can be triggered using a predefined time interval, an app-based action, or a background notification.
Widgets come in 3 sizes: small, medium, and large.
- Small – square, has the same size as a 2 by 2 block of app icons
- Medium – rectangular, takes up the space of 8 app icons
- Large – square, four icons wide, and four icons tall
By default, all size styles are enabled, but we can disable any of the options depending on our preference and the type of our host application.
Scrolling within a widget is not supported. The small one is a tap target, which can trigger a deep link, and the medium and large widgets can support multiple targets including deep links.
Getting started
To kick this off, let’s make sure that we have:
- a Mac device running macOS Catalina (minimum version 10.15.5 or later)
- an XCode version 12.0 or above installed
- an iOS device with iOS 14.0 (alternatively, the simulator will do, too)
- some basic knowledge of SwiftUI.
As a first step, we open the Xcode project we want to add widgets to. If we don’t have one already, we can simply create a new, blank one.
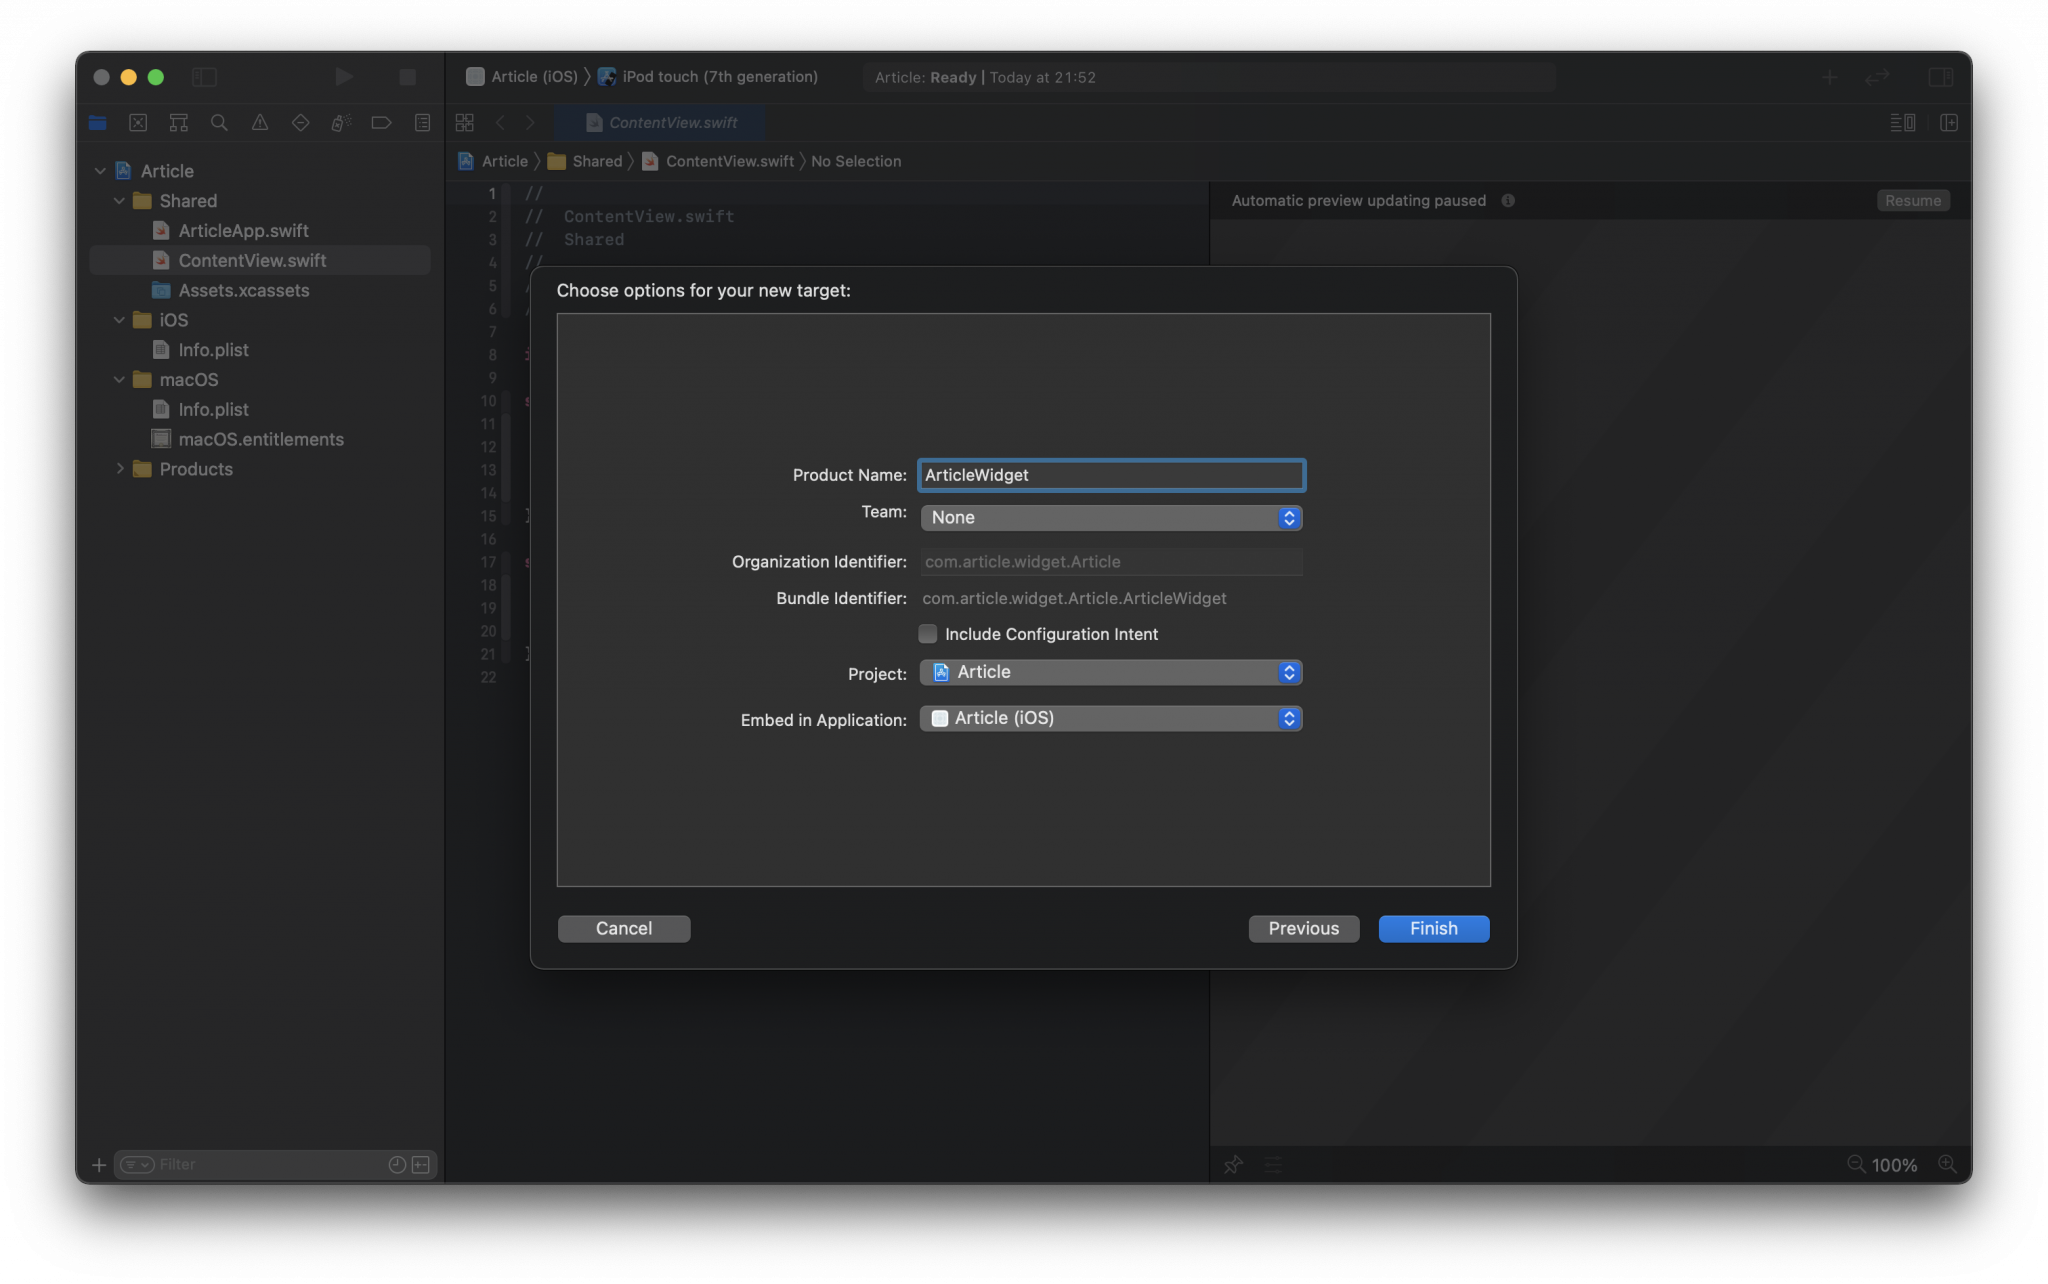
Next, with a few clicks, we add a widget extension. Here’s how we do it: File ▸ New ▸ Target ▸ Widget Extension ▸ Next.

I named this target “ArticleWidget”, but you can choose a different name for it.
At this stage, we could check the Include Configuration Intent box and allow users to customize widget parameters, but since we are building a static widget, we will leave it unchecked and hit Finish.
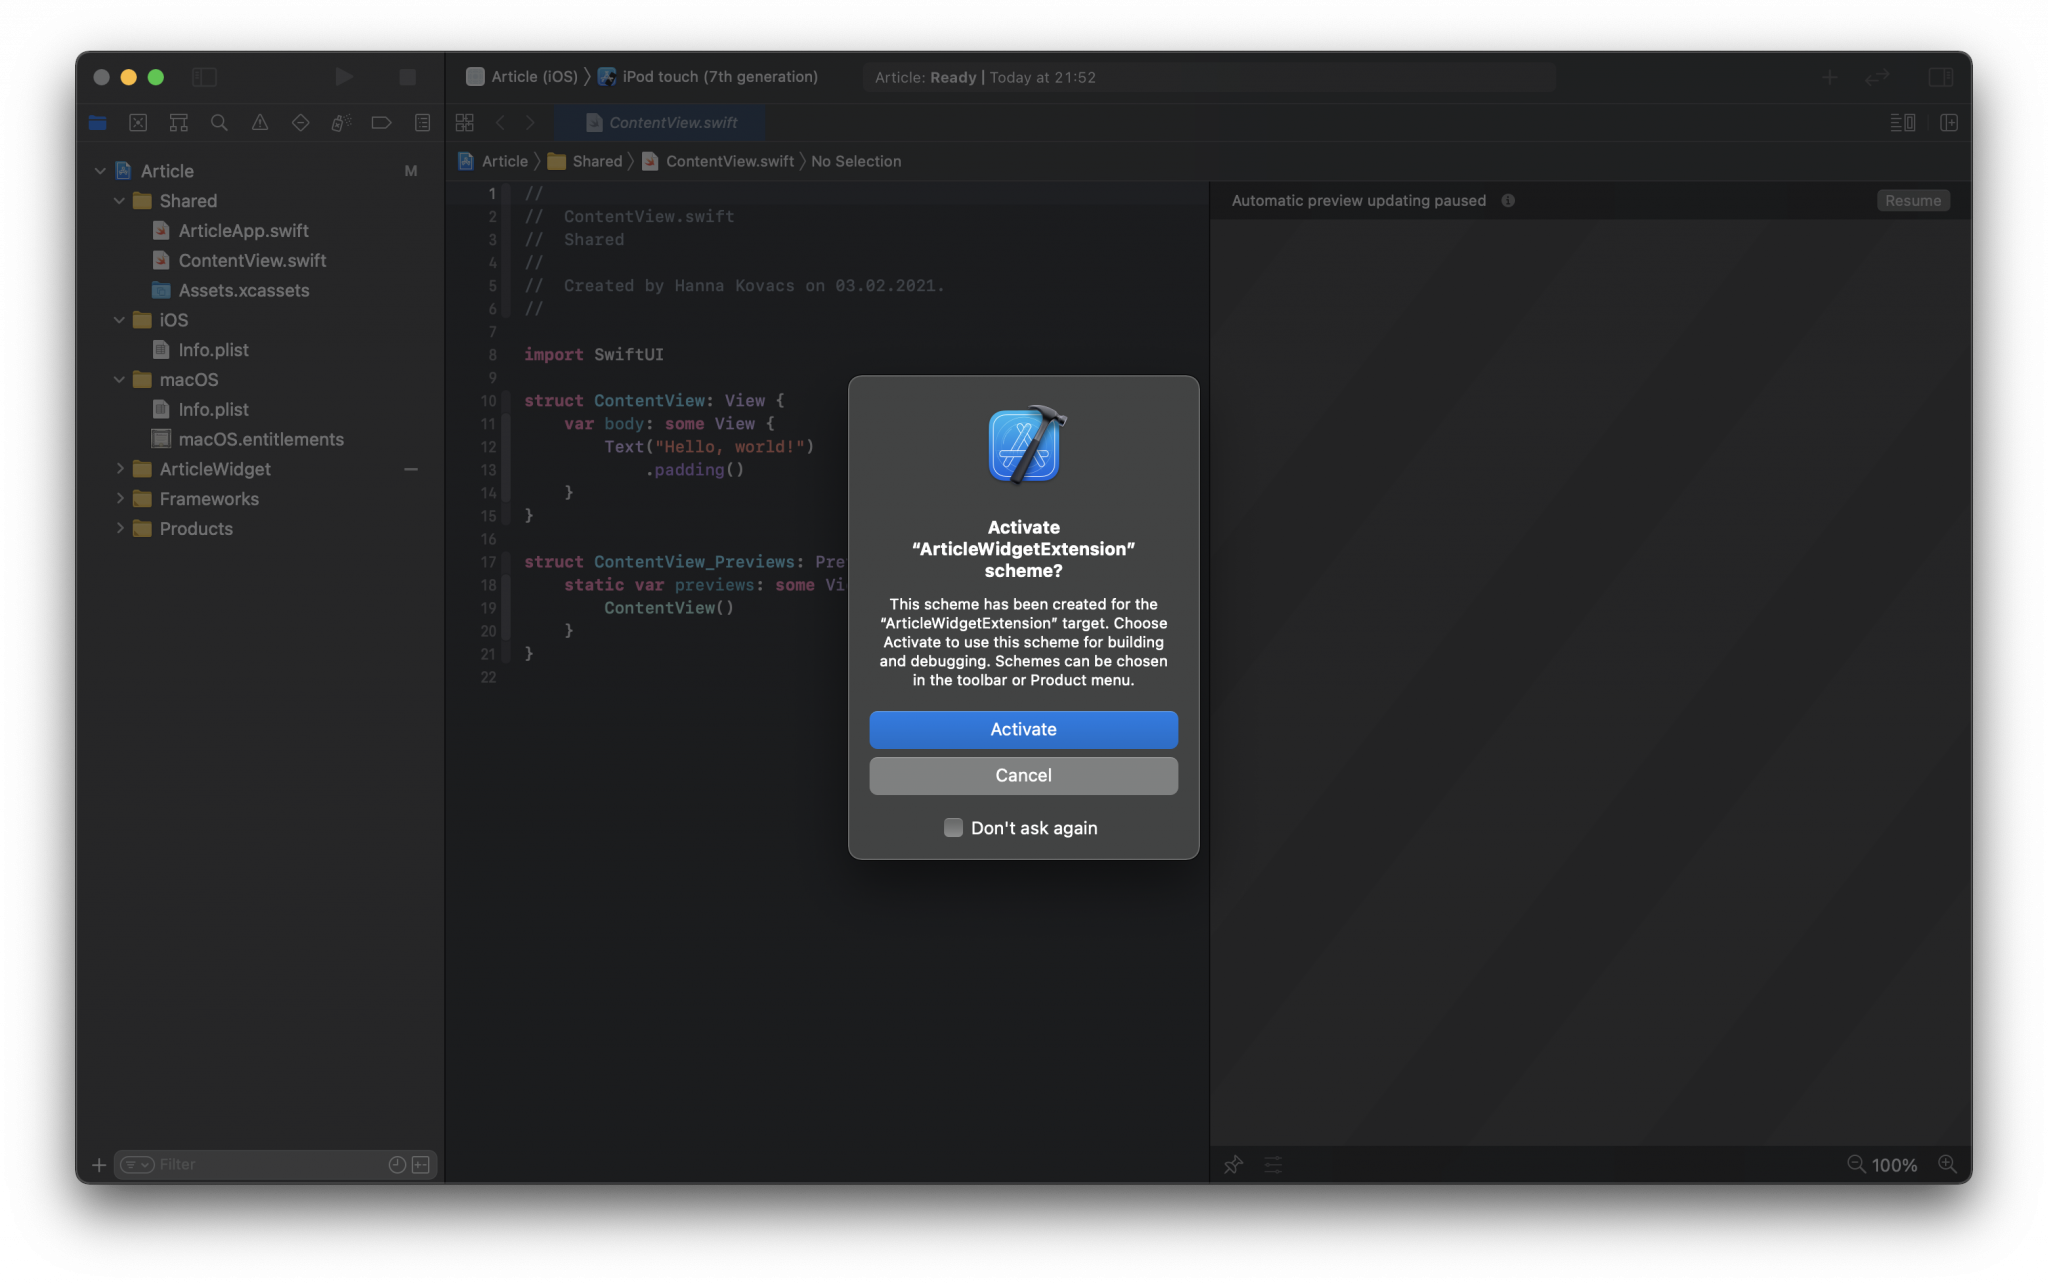
Moving forward we agree to the activate-scheme dialog, and select Activate on the following screen:
To view the widget in the preview pane, we go to the ArticleWidget Swift file under the newly created extension and if we’re curious what the widget looks like, we can get a sneak peek by running the pre-generated code within this file.
Understanding the generated code
If we look at the draft code of the widget class, the first struct we see is the Provider type of TimelineProvider that contains three functions: placeholder, getSnapshot and getTimeline.
“What are these?” I’m glad you asked:
placeholder– when WidgetKit displays the widget for the first time, it renders the widget’s view as a placeholder. A placeholder view displays a generic representation of the widget, giving the user a general idea of what the widget shows.getSnapshot– the preview snapshots displayed in the widget gallerygetTimeline– the method that decides when our widget will update its content. For this to work, we need to pass aTimelineinstance that expects an array ofTimelineEntryand a reload policy to the completion block. In our example, the generated code contains five entries one hour apart from one another.
Further on, the boilerplate contains a TimelineEntry that specifies a date when the widget should be rendered with this information. We’ll add additional information to this entry, that’s relevant to our widget.
Scrolling down a bit, we arrive at the ArticleEntryWidgetView that contains a simple text, which will be provided by the Provider’s getTimeline method through the SimpleEntry.
The configurationDisplayName and description are shown to the user while they add the widget to their Home Screen as well as when they edit it, thus a piece of meaningful text should be provided here, however, at this point, we won’t worry about it too much, as we can edit it later on.
The last part of the code is the PreviewProvider:
This part is responsible for showing the widget in the preview canvas. Xcode detects types that conform to this protocol in our app and generates previews for each provider it discovers.
Go ahead and run the code on the simulator and check out this super simple widget.
I’ll wait…
Adding an article widget to our project
So we want to create a static widget that shows us the latest news. We start with defining the data structure. Since the widget needs only a few variables, we create an Article struct with a title, the name of the source, and last but not least the featured image. For this, we make a new Swift file and name it Article.
In this file, we are going to use mock data. To this Article struct, let’s add an extension that contains two private arrays – availableTopStories and availableTrendingStories – with some preset Article data and use the shuffled function to randomize them and make sure that we won’t display the same data twice.
We want our widget to show two pieces in each category so when we create the topStories and trendingStories arrays (we’ll use these later on), we need to make sure that each of them contains exactly two articles.
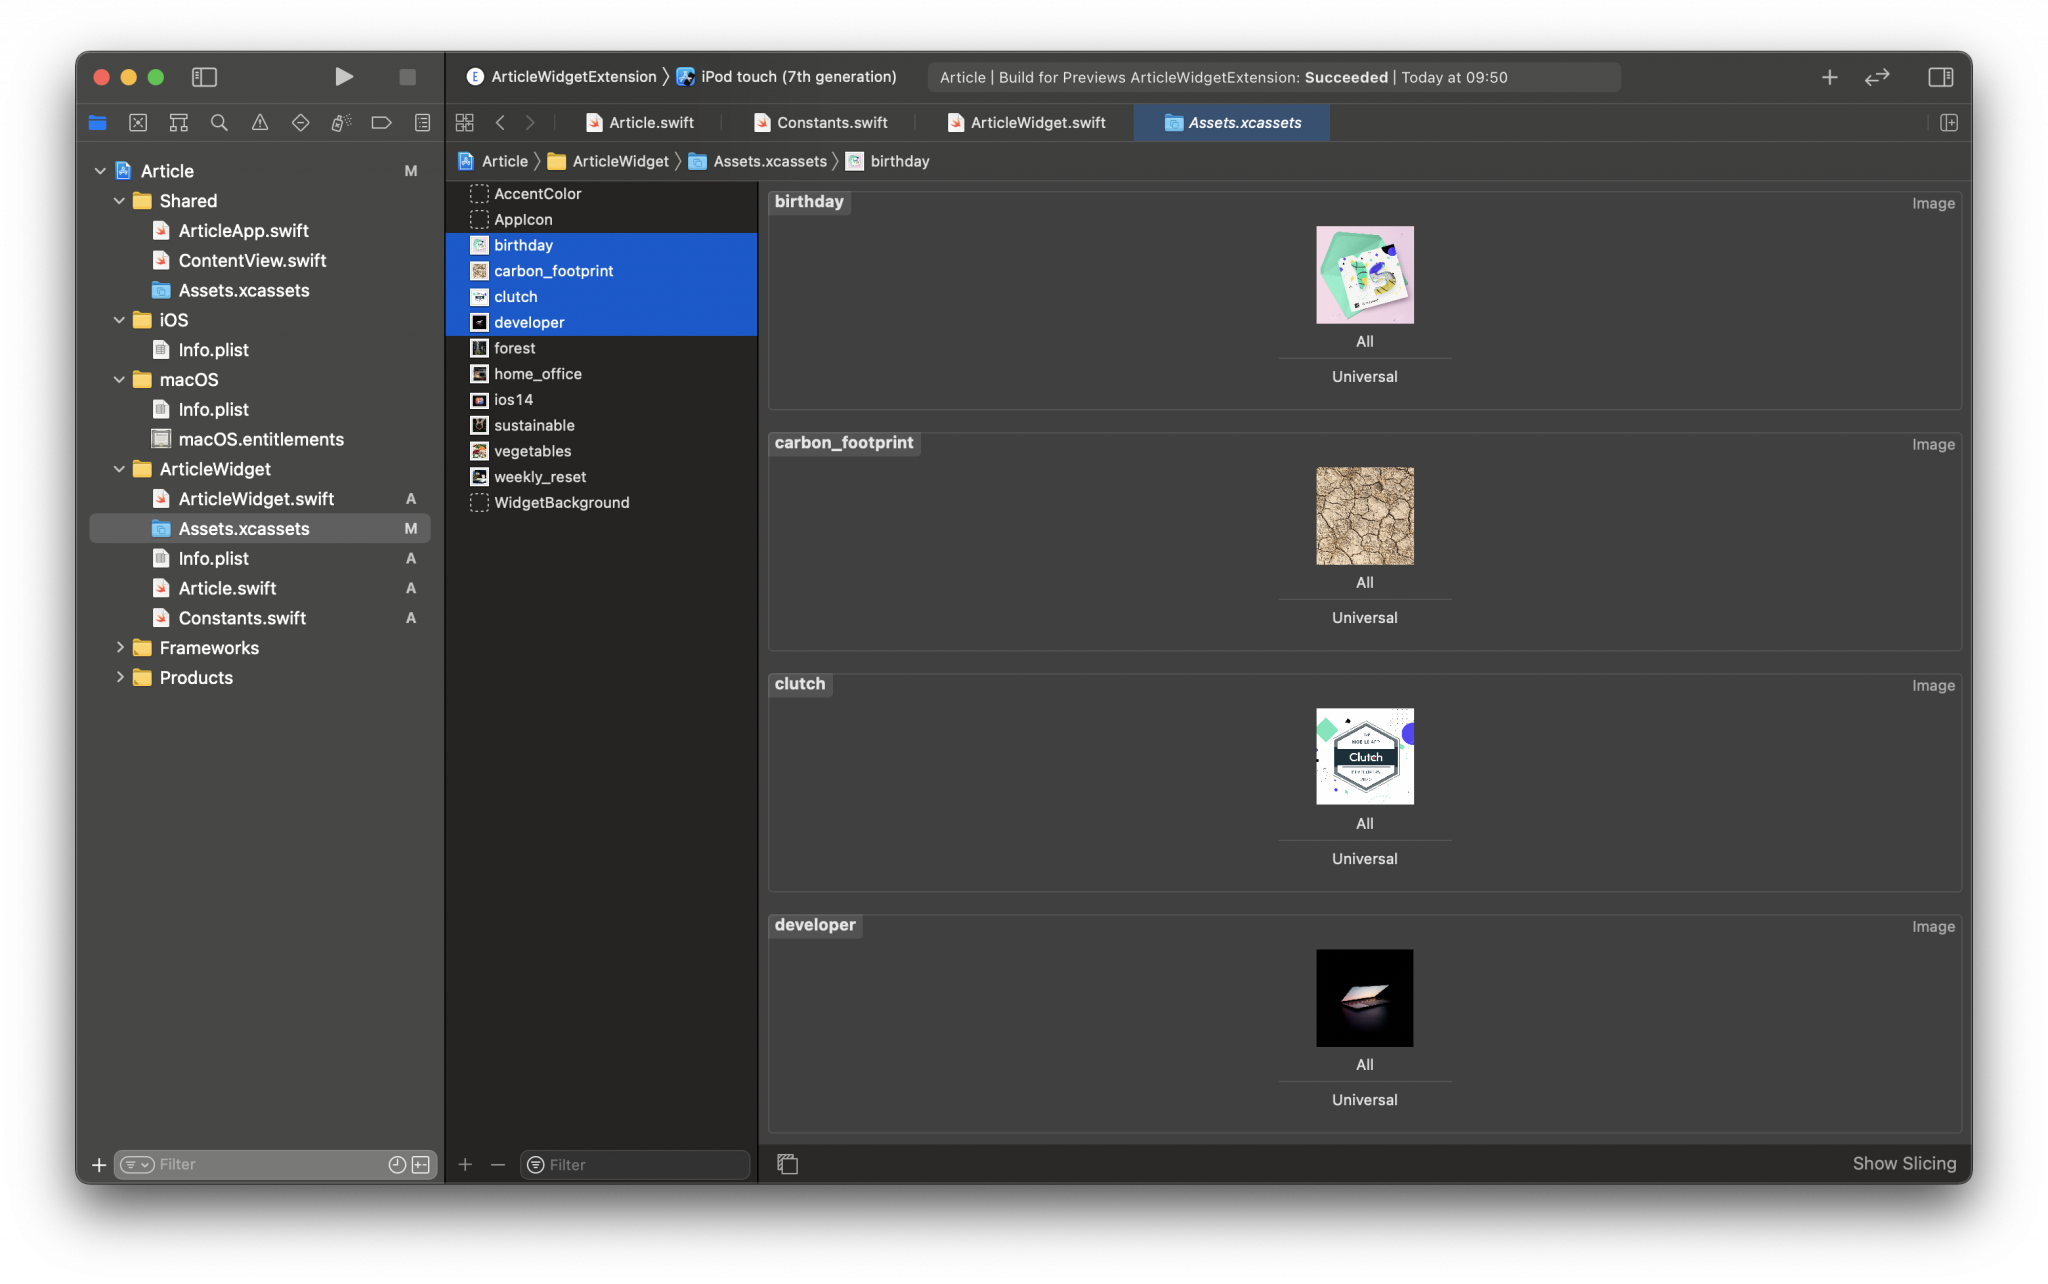
For the images we can use the Asset catalog because it simplifies access to app resources. Let’s create a new Asset catalog, add a few shots to it, and use their names here where we defined the mock data.
Now let’s go back to the ArticleWidget class to create a Timeline and define a TimelineEntry. This class already contains a TimelineEntry struct that we can reuse. Let’s find the SimpleEntry struct, rename it to ArticleEntry and add two extra arrays: the topStories and trendingStories which contain 2 articles each.
When we’re done with this, we can continue with the Provider struct, from the top of the WidgetArticle class.
We call the TimelineProvider the engine of the widget, that’s mainly responsible for providing a bunch of views in a timeline, along with snapshots and a placeholder of the widget.
As mentioned, WidgetKit uses the placeholder function when it first displays the widget. This method expects to return an instance of ArticleEntry, so we’ll just create a new one and return it.
Tip: If we want to see what our widget “looks like”, we can use the .redacted(reason: .placeholder), which will automatically mask the texts and the images to appear as generic placeholders, while maintaining their size and shape and keeping any actual placeholder data from being exposed to the user.
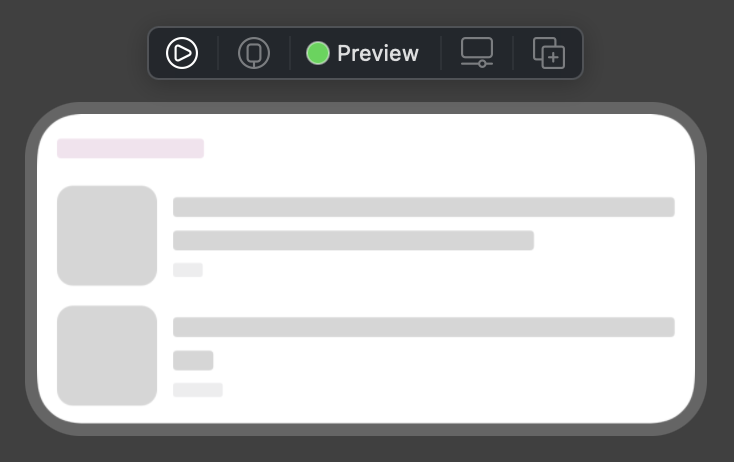
Isn’t this cool? :)
Next stop: getSnapshot.
The getSnapshot method provides a snapshot entry to display it in the widget gallery. We’ll create an ArticleEntry object for this and pass it to the completion block.
Lastly, we need to provide timelines for our widget by implementing the following method:
This defines the real information our widget should use. The objective is for us to return a Timeline instance that contains the entries we want to display and the time they are expected to be displayed based on the reload policy. In our case, we update our widget content hourly, up to 5 times.
Note: The widget API’s documentation says that we can’t predict when the widget will be updated. Even though the timeline itself will indeed be fetched again after x time, there’s no guarantee that the iOS will update the view at that given time.
🎉 Good news, we are nearly at the halfway mark of our widget creation journey… 🎉
Our timeline is ready, so now we can take care of the widget’s visual components. For this part, we need to create two views: one for the article item and one for the article section.
Starting with the “ArticleItemView” view we create a new SwiftUI file (New file ➡ SwiftUI View ➡ Next) and name it ArticleItemView.
In this view, we show a static image from the Asset catalog, the title of the article, and the source.
Our widget will have 2 sections: one for top stories and another one for trending articles, each section containing the title of the category and two top articles in each group.
Now we’ll create another SwiftUI file for the ArticleSectionView and name it accordingly. Here we’ll reuse the previously created ArticleItemView, and we’ll embed two of them into a VStack view.
Right, now it’s time we put the created views together.
First, let’s go back to the ArticleWidget class and find the ArticleWidgetEntryView struct, where we add the ArticleSectionView view to the widget.
For now, we won’t support the small size style as it’s too petite for the type of information we want to display, but the middle- and large sizes are just right, allowing us to show more sections – 1 in the first, 2 in the last.
Also, we can provide different widget sizes using the widgetFamily environment value.
To configure our widget, we’ll need to scroll down a bit to the ArticleWidget struct which conforms to the Widget protocol, and return an instance of StaticConfiguration from its body, like this:
Taking a closer look at the above initialization of StaticConfiguration, we can see that a widget’s configuration is made up of three core parts:
- The
kindproperty is a descriptive unique string that identifies our widget, especially when we perform updates or query the system for more information about it. - The
provideris an object that conforms to theTimelineProviderprotocol that defines the timeline, telling WidgetKit when to render the widget. - The
contentis a closure that receives aTimelineEntryand returns a SwiftUI View that will be rendered as a widget on your home screen.
As mentioned above, we won’t support the smallest widget size, so let’s set the sizes that we want to support by adding the .supportedFamilies([.systemMedium, .systemLarge]) method and add some personality to our widget by updating .configurationDisplayName and .description modifiers.
Aaand, as a last step, let’s update our PreviewProvider to see how our widget shines in action.
Yaay! We’re done! We should be able to compile our code and, when all the components are provided and wrapped together, we can explore and enjoy our widget.
Conclusion
Widgets are super neat, fun, and informative. It’s a new way for users to engage with your app right on their Home Screen, so devs should definitely contemplate adding a widget extension to their products. However, even if they don’t plan on implementing widgets, these new SwiftUI elements can certainly benefit any application. While some might not ever be used outside WidgetKit, it’s still nice to have more choices when building our next app.
_____
Will you add a widget to your app or use the new features somewhere else? I’d love to know, so feel free to pop your answers in the comments, and don’t shy away from asking your questions regarding widgets either.
Thanks for reading my tutorial, I hope it was useful. If so, you’d help me a lot by sharing it so others can read it and learn from it, too. For other articles and helpful resources check out the Halcyon Mobile blog.
Usually I do not learn article on blogs, but I would like to say that this write-up very forced me to check out and do it!
Your writing taste has been amazed me. Thanks, very
great article.